


- Login to blogger with your ID.
- After entering the dashboard page , click Layout. Please saw the picture :
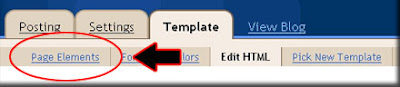
- Click at Page Element tab. See the picture below :
- Click at Add a Page element.
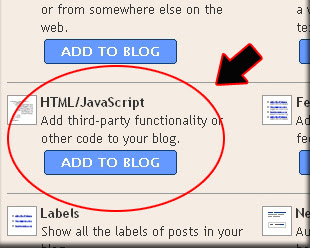
- After emerging pop up window , Click add to blog button for the things HTML/JavaScript. See the picture following :
- Copy and paste the code below into available column :
- Click

- Finish. Please see the result.

Now you have a Google Talk at your blog. Or maybe you still confused with the step above? don't worry i have an easy way to do it, just click the button below, login to your blog and the widget will be add to your blog automatically:
See you next time at my new post brother.


No comments:
Post a Comment